
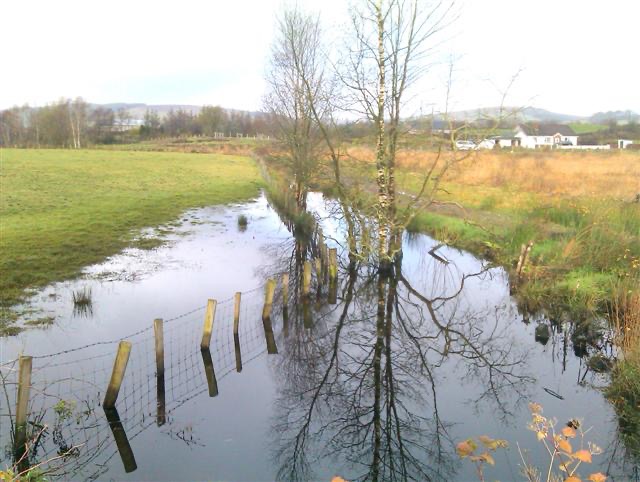
Hi, Gardening Friends! March in Abington, that in-between season where the daffodils are peeking through, the air is damp, and your yard looks like it’s really trying to get to summer already. It’s also the month when you can see exactly where water sits, the puddle corner, the downspout splash zone, the stretch of lawn that turns into a slip-and-slide if you so much as look at it. I know the back corner of my yard is a swimming pool at this time of year.
Meadows are trending, and for once the internet is onto something. A small patch of deep-rooted native plants doesn’t just look charming, it slows stormwater, soaks up runoff, and turns your soggy spot into something that feels intentional. Not a “I’m starting a farm with acres” situation, just a pocket meadow or rain-garden patch that helps your yard do what it already wants to do: absorb water instead of moving it along like a tiny river.
Here’s the rain-garden logic: stormwater is only a problem when it moves too fast. Your job isn’t to make your yard perfectly dry, it’s to slow the water down and give it a place to sink in.
So, here’s a Stormwater Saver Plan you can apply to any soggy spot in a real-life Glenside yard.
The Stormwater Saver Plan
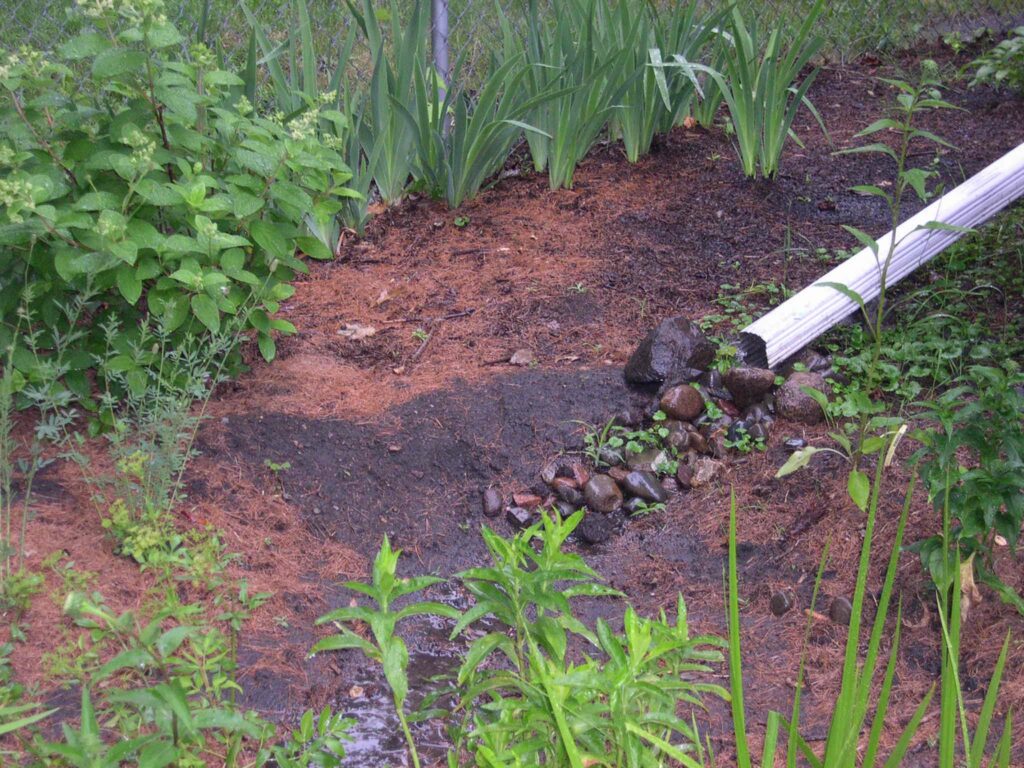
Step One: Find the “source,” not the symptom
Most soggy spots aren’t random. They’re usually getting blasted by a downspout, a sump pump line, or runoff coming off a driveway, sidewalk or patio.
Next time it rains, go outside (with your raincoat or umbrella) for one minute and watch where the water actually goes. If a downspout is firing into the same corner every storm, you’ve found your culprit and also your easiest fix.
Low-effort upgrade: a splash block or downspout extender to spread the flow out.
Step Two: Give the water a landing pad
If water hits compacted soil or turf, it bounces and runs. If it hits a bed with mulch and roots, it slows down and starts behaving better.
Define a simple bed shape around the soggy area (an oval is forgiving), edge it, and add 2–3 inches of shredded mulch. This reduces compaction over time, keeps the surface from turning into muck, and instantly makes the spot look like a you’re a genius gardener.
Step Three: Plant the sponge layer first
If the ground stays wet, turf struggles. But some plants are built for this and they don’t just survive; they improve the soil.
Start with native grasses (Switchgrass or Purple Lovegrass). They handle fluctuating moisture, knit the soil together, and create that meadow-y texture people are trying to achieve. Add a few clumps in drifts, not singles because you’re building a sponge.
Step Four: Add two “show-off” plants that like wet feet
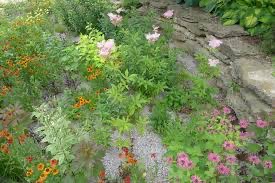
Once you have the sponge layer, add a couple plants that make the soggy spot feel like a garden instead of “I’m annoyed with this area so I’m trying to pretend it doesn’t exist.”
A few rain-garden favorites:
- Blue flag iris (Iris versicolor) — spring drama
- Swamp milkweed (Asclepias incarnata) — summer color + pollinators + monarch host
- Cardinal flower (Lobelia cardinalis) — a red showstopper that hummingbirds love
Pick two or three and repeat them. Repetition is what makes it look designed. If you’re looking for more options, Primex Garden Center has created a whole list of rain garden plants they stock, and you can find it right here: https://primexgardencenter.com/rain-gardens-bio-retention-plants/
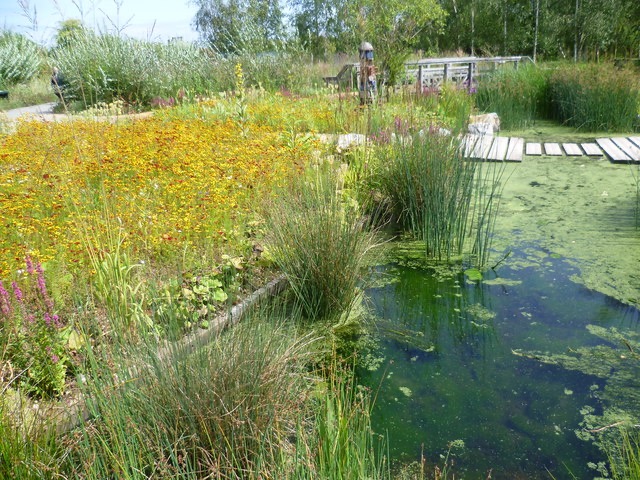
Step Five: Turn it into a pocket meadow
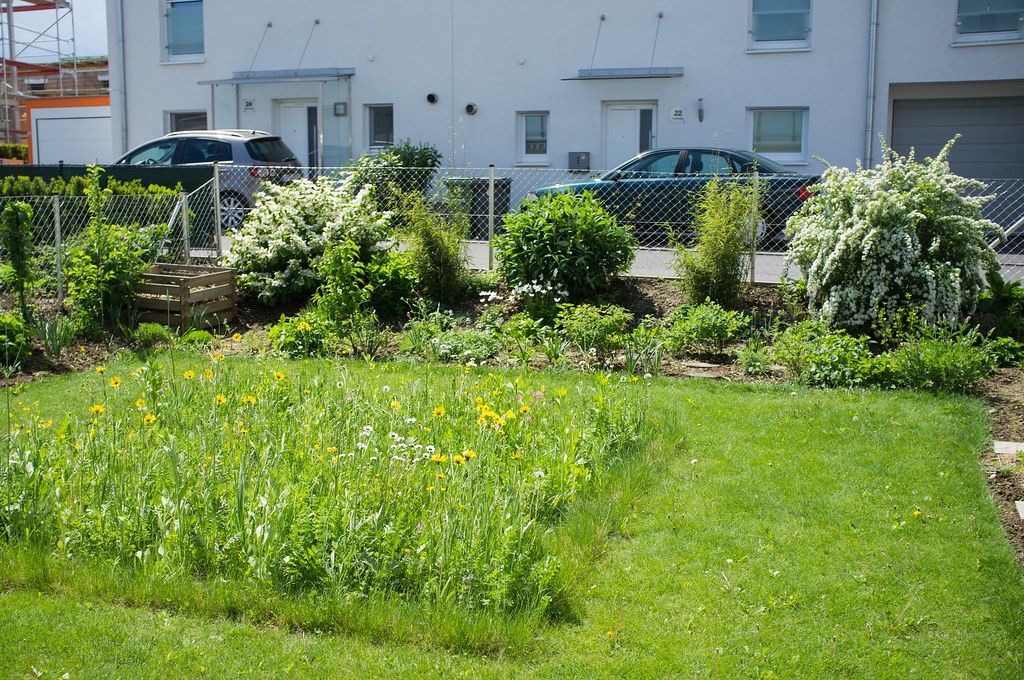
A meadow doesn’t have to be a whole lifestyle where you move out to the country and start a flower farm (although it does sound pretty tempting). In Glenside terms, it can be a 6′ x 10′ patch where you stop mowing, plant deep-rooted natives or sprinkle some seeds, and let the roots do the stormwater work.
To keep it “meadow” and not “what happened here?”:
- Choose two or three repeat plants
- Plant in groups of 3, 5 or 7 (odd numbers)
- Keep a clean edge (mown border or edging)
A pocket meadow is a stormwater solution that improves every year. Less mowing, less runoff, more life. It’s the rare yard project that gets easier over time.
Neighborhood Notes
Maureen from Bustleton wrote: After reading your last two columns I wondered, do you have a list of top five natives that still look good in winter and any advice after a “leave the leaves” experiment led to brown spot?
Maureen, I hear you. The balance between “hospitable habitat” and “please don’t let my yard look like it’s negotiating its own terms all winter” is hard.
Winter interest that still feeds wildlife
A few solid picks for seedheads and structure:
- Coneflower (Echinacea)
- Black-eyed Susan (Rudbeckia)
- Asters
- Turtlehead (Chelone)
- Little bluestem (or another grass for winter structure)
About the brown spot (ugh, I’m sorry)
A few guardrails that help without turning gardening into a crime scene investigation:
- Shred the leaves (mow over them) so they don’t mat
- Keep leaf mulch to about 2–3 inches
- Pull leaves back from stems/crowns to avoid trapping moisture
- Remove the worst affected debris/plants and focus on airflow going forward
It can take time, but you can beat it back and you don’t have to give up on leaves entirely. You just have to use them like sprinkling seasoning on your dinner, not a comforter. Thanks, Maureen, for great questions!
Now, what about you. Do you have a plant or winter garden question you’ve been thinking about since December? Send it along for next month’s Neighborhood Notes (first name + town is perfect). Bonus points if your yard problem already has a nickname.
Yours in mediocrity, patiently waiting for spring…
Edel
For all the latest news, follow us on Facebook or sign up for Glenside Local’s “Daily Buzz” newsletter here.