
Hi garden friends! A special shout-out to reader Ken Daskus who bravely confessed he’s been
“following pretty much no rules” in his gardening adventures when he “started a raised bed a few
years ago.” Thanks for sharing Ken and keep up the good work! If you’ve got gardening tales
(triumphs or hiccups), drop me a line at dearmedicoregardener@gmail.com so we can all grow
together.
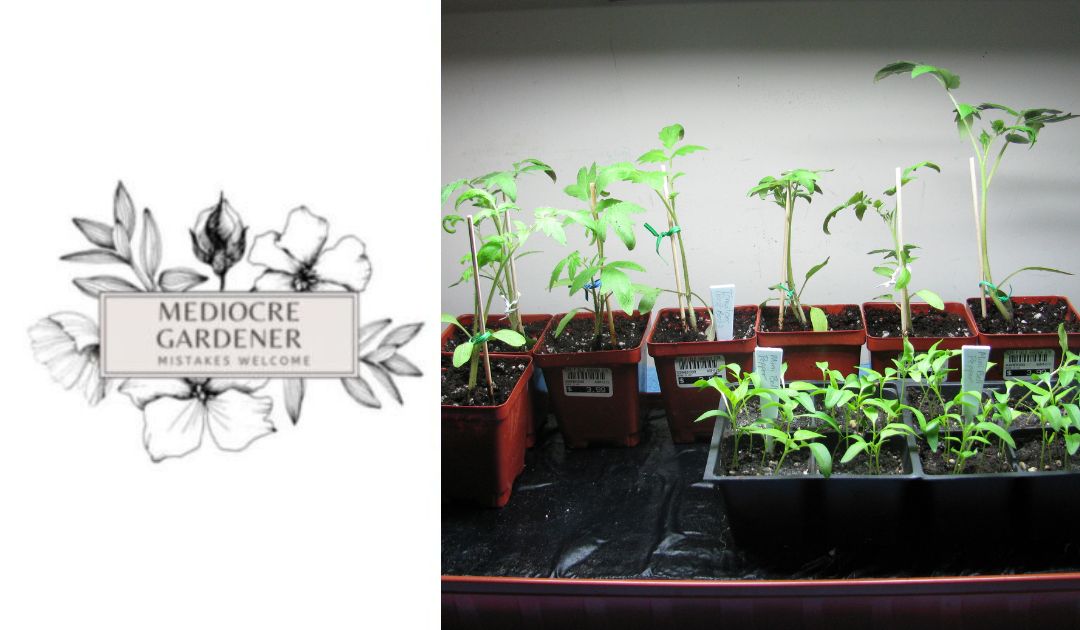
This month we’re getting warmed up for the growing season by starting seeds indoors. If you’re
looking to get a head start on your garden and want to throw some native plants into the mix,
you’ve come to the right place.
Getting Started
First off, let’s talk about what you’ll need to kick off this seed-starting adventure. It’s way
simpler than you might think. Here’s your checklist, just 4 items:
- Seed trays or pots: You can use fancy seed trays, biodegradable pots, or even some recycled yogurt containers (just make sure they have drainage holes or poke holes in them).
- Seed-starting mix: This stuff is lighter and fluffier than regular potting soil, and it gives your little seeds the perfect cozy environment to sprout.
- Light source: If your windowsill doesn’t get enough sun, consider purchasing some grow lights. Your seedlings will thank you!
- Water: A spray bottle works wonders for gently misting your seeds without drowning them.
Step-by-Step Guide
- Pick Your Seeds: Choose the veggies and flowers you want to grow. Some easy-peasy favorites include tomatoes, peppers, and zinnias.
- Fill Your Containers: Fill your trays or pots with that lovely seed-starting mix, leaving about half an inch of space at the top.
- Sow Your Seeds: Check those seed packets for depth guidelines. Some seeds like to be placed close to the top of the pot while others prefer to dig a little deeper. A good rule of thumb is to put the smaller seeds a little closer to the top and the bigger seeds a little deeper.
- Water Wisely: Mist your seeds with water until the soil is moist but not soggy. The seeds need a nice mix of water and dryness, but not too much of either.
- Light It Up: Put those trays in a sunny spot, window or under grow lights. Most seeds need about 12-16 hours of light each day to get going. Grow lights (you can buy them online or at local stores) really help them grow up straight, but no need to invest in them unless you’re sure about this whole seed growing malarky.
- Keep Them Warm: Seeds love a cozy environment! A heat mat can work wonders, especially for those warm-weather plants.
- Thin Out Your Seedlings: Once your seedlings are a few inches tall, it’s time to thin them out. This gives the strongest one’s room to thrive.
Complementing with Native Plants
Now, let’s spice things up a bit by adding some native plants to your seed-starting lineup. Native
plants will attract all those fabulous pollinators, they’re kind of like the cool local Glenside,
Jenkintown or Elkins Park bar where everyone wants to hangout. (I won’t list any in case I forget
any drinking holes and get in trouble)
Easy Native Plants to Start Indoors
- Milkweed (Asclepias spp.): If you want to attract those stunning monarch butterflies, milkweed is a must! It’s pretty easy to start from seed. Just soak the seeds overnight, then plant them about 1/4 inch deep in your seed-starting mix. You’ll be creating a butterfly haven in no time.
- Coneflowers (Echinacea spp.): These gorgeous purple flowers are not just eye-candy; they’re also great for attracting a variety of pollinators. Start those coneflower seeds about 1/4 inch deep and watch them bloom.
- Black-eyed Susans (Rudbeckia hirta): These cheerful yellow flowers are a garden staple. Like the others, start them indoors about 1/4 inch deep, and soon you’ll have a sea of sunny blooms to brighten your space.
- Wild Bergamot (Monarda fistulosa): Also known as bee balm, this fragrant herb is a favorite among pollinators. Just plant the seeds about 1/4 inch deep, keep them warm, and you’ll enjoy both its beauty and aroma!
Tips for Success
- Timing is Everything: Make sure you check the last frost date to time your seed starting just right. Generally, you’ll want to start those seeds indoors about 6-8 weeks before this date. I usually treat that date as Mother’s Day weekend, that’s when the weather stops the whole hot and cold yoyoing.
- Transplanting: When your seedlings are about 2 – 4 inches tall and outdoor conditions are right, it’s time to – new gardening term alert – harden them off. It means gradually introduce them to the outdoors over a week or two before planting them in your garden. Think of it like it being nice and warm and cozy inside and then going outside without your coat, you wouldn’t want to stay out too long, but you get used to it the more time you spend outside, just like the plants. So, a few hours a day at the start and gradually increase their time outside for a few weeks until they’re ready to go in the ground.
Final Thoughts
Starting seeds indoors is a fun way to kick off your gardening season, and adding some native
plants into the mix is like the icing on the cake. By nurturing these beauties, you’re not only
beautifying your space but also helping local wildlife thrive.
So, grab those seed packets, get your hands dirty, and let’s create a garden that’s vibrant,
colorful, and buzzing with life! Happy planting, and remember, it’s all about the journey, not just
the destination. Mistakes? Bring ’em on!
For each installment of Glenside Local’s “The Mediocre Gardener” column, you can click here.
For all the latest news, follow us on Facebook or sign up for Glenside Local’s “Daily Buzz” newsletter here.